iPhone 13 Pro Max
Battery Replacement
Backup Your Device before your start !!!
Introduction
Follow this guide to replace the battery on an iPhone 13 Pro Max.
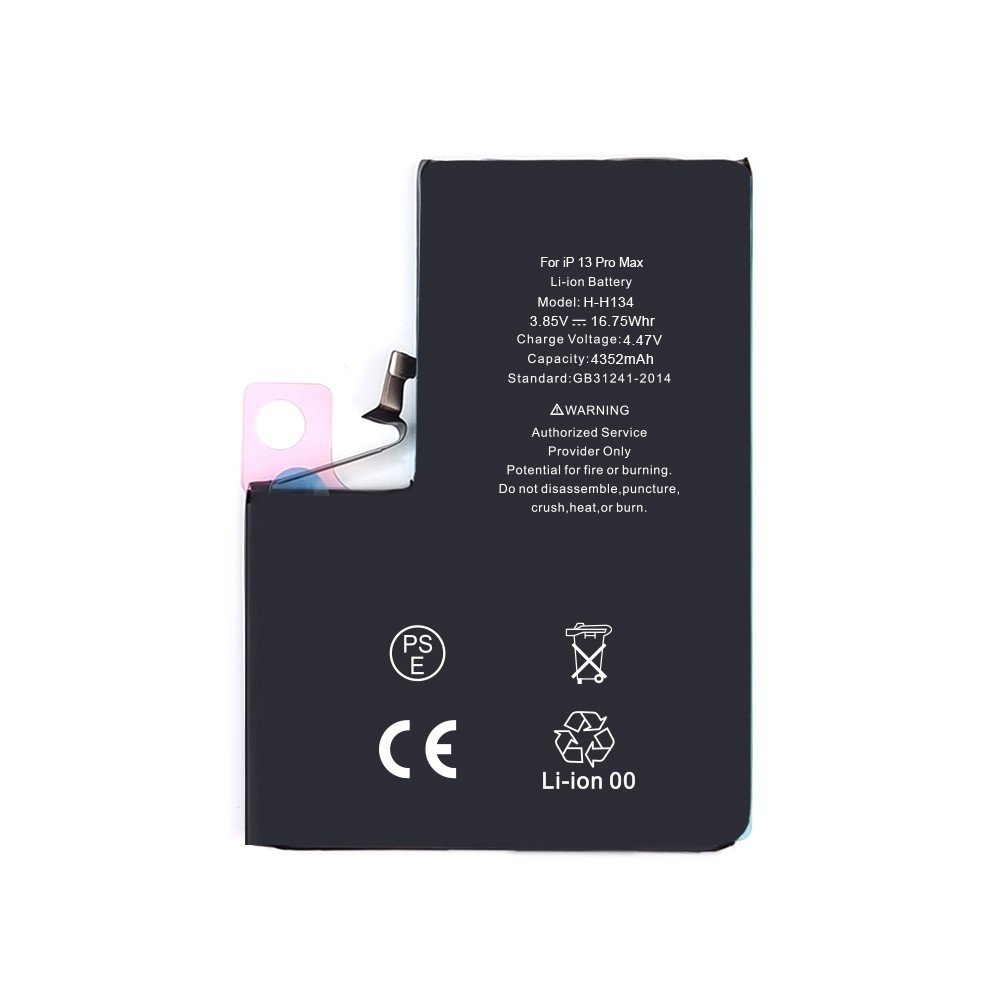
Note: After the repair, your iPhone may display a warning about the “genuineness” of the battery, even when using original Apple parts. If your iPhone functions normally, you can safely ignore the warning.
For optimal performance, Charge new battery to 100% and keep charging it for at least two more hours.
Backup Your Device Now
No mater you repair the deivcie by yourself or you bring the phone to the shop to repair. Always backup your device on your computer first. When the data is loss, it is gone. Sometimes you never get it back.
Before You Start
If it is your first time to DIY the repair/replacement work. We recommand you spend some time to watch the following videos.
Steps to Replace iPhone 13 Pro Max Battery
- Step 1 Remove the pentalobe screws
- Step 2 Tape over any cracks
- Step 3 Heat the lower edge of the iPhone
- Step 4 Lift the display slightly
- Step 5 Separate the screen adhesive
- Step 6 Open the iPhone
- Step 7 Remove the battery connector cover
- Step 8 Disconnect the battery
- Step 9 Disconnect the battery
- Step 10 Disconnect the display cable
- Step 11 Disconnect the display cable
- Step 12 Unscrew the front sensor connector cover
- Step 13 Unscrew the loudspeaker
- Step 14 Separate the loudspeaker adhesive
- Step 15 Remove the loudspeaker
- Step 16 Remove the Taptic Engine
- Step 17 Remove the stretch-release adhesive
- Step 18 Remove the battery
Conclusion
Compare your new replacement part to the original part—you may need to transfer remaining components or remove adhesive backings from the new part before installing.
To reassemble your device, follow these instructions in reverse order.
- Time Required: 1 - 2 Hours
- Difficulty: Moderate
Need help?
Don’t have time to do it yourself (DIY). We are happy to fix/repair it for you. Visit our shop or send the device to us via post.
Onsite Repair go to your place to repair your device.