iPhone 14 Screen Replacement
Backup Your Device before your start !!!
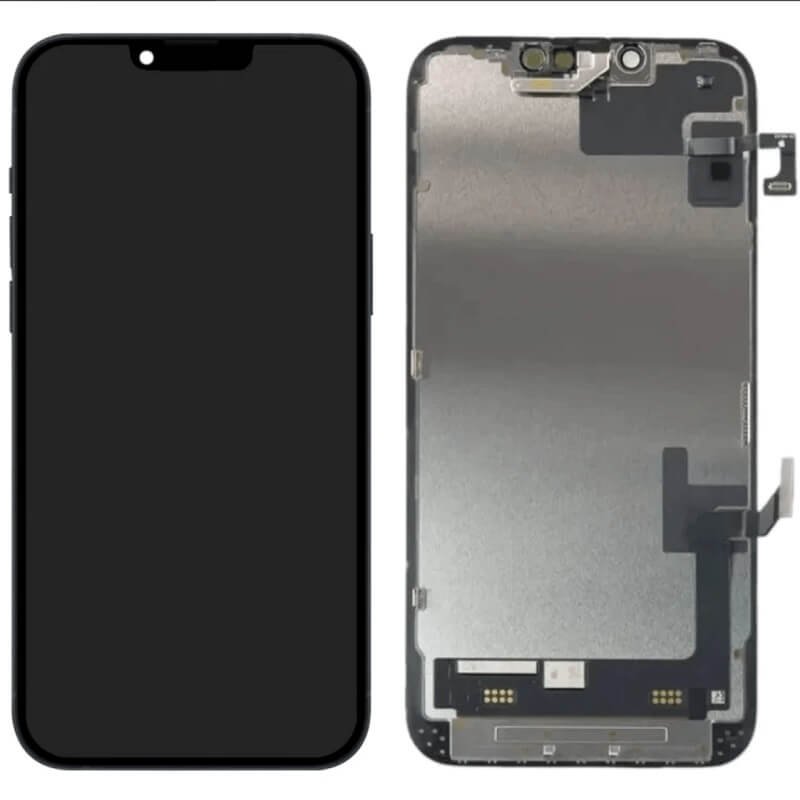
Introduction
If your iPhone 14 screen is cracked, not responding to touch, or not showing a picture when your phone is powered on, use this guide to restore your iPhone to working order with a new screen.
Note: True Tone and auto brightness functionality is disabled after a screen replacement, even when using an original Apple screen. Face ID is also disabled, unless the iPhone is running iOS 15.2 or newer.
Backup Your Device Now
No mater you repair the deivcie by yourself or you bring the phone to the shop to repair. Always backup your device on your computer first. When the data is loss, it is gone. Sometimes you never get it back.
Before You Start
If it is your first time to DIY the repair/replacement work. We recommand you spend some time to watch the following videos.
Steps to Replace iPhone 14 Screen
- Step 1 Remove the pentalobe screws
- Step 2 Tape over any cracks
- Step 3 Heat the lower edge of the iPhone
- Step 4 Lift the display slightly
- Step 5 Heat and separate the screen adhesive
- Step 6 Open the iPhone
- Step 7 Unfasten the display connector bracket screw
- Step 8 Remove the display connector bracket
- Step 9 Disconnect the display connector
- Step 10 Unfasten the front sensor connector bracket
- Step 11 Remove the front sensor connector bracket
- Step 12 Disconnect the front sensor connector cable
- Step 13 Remove the screen
Conclusion
If possible, turn on your device and test your repair before installing new adhesive and resealing.
To reassemble your device, follow these instructions in reverse order.
- Time Required: 1 - 2 Hours
- Difficulty: Moderate
Need help?
Don’t have time to do it yourself (DIY). We are happy to fix/repair it for you. Visit our shop or send the device to us via post.
Onsite Repair go to your place to repair your device.